Showing posts with label creative. Show all posts

Wednesday, December 19, 2012

11 Quick Gifts for the Money Conscious

Admit it. It's a little late and  you are still looking for gifts for the holidays. Here are a couple that you can whip out real fast. Even for those who aren't super crafty! Click the titles to see the genius, original crafters and tutorials on how to make it!

Bread In a Bottle
 
Natural Room Scents


 Make Your Own Cupcake Kit

Toddler Scribble Art

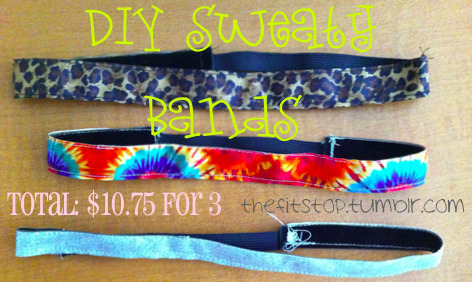
Sweaty Bands

 Sharpie Mugs


 Toilet Paper and Card


Mini Bow and Arrow Set
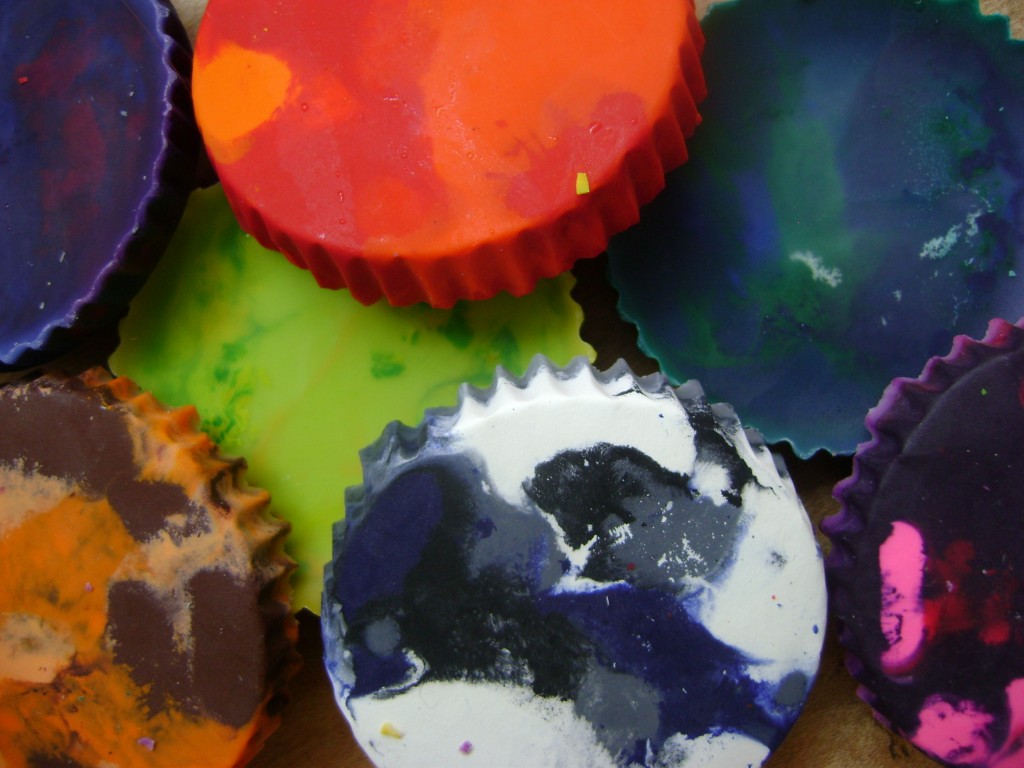
Confetti Crayons


 Button Calendar

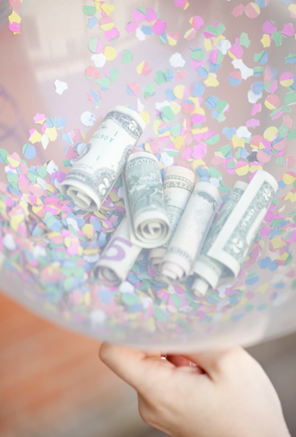
Money Balloons


This post is written by Kare.
Adapted from: see individual title lings for sources

Saturday, November 24, 2012

Craft Challenge: Falling Leaves


So my friend and I decided that we are going to start doing craft challenges since we both have blogs. It's also a way for us to do something crafty every month as a way to keep in touch since we are so far away (she's in Scotland!). Check out A Mess To Be Made. So Charlie and I are doing craft challenges. This month we are doing a fall craft! I chose to do a fall wreath.

Materials
  • a stick 
  • scissors
  • pretty paper (I used brown and patterned orange and red)
  • leaves stencil (not shown above)
  • clear string or fishing line (not shown above)
  • clear tape (not shown above)
  • double sided tape (not shown above)
Instructions
  1. Cut paper into leaves. I totally cheated and used my Silhouette Cameo to cut the leaves out. 
  2. Once you got all your leaves all cut up, measure string into different lengths (I cut 5)
  3. Cut string to hold up. Tie each end of the string to each end of the stick so you are able to hang it up.  
  4. Start taping leaves back to back to hide the string. (As you can see in the picture, I didn't realize that I had to mirror the cut to make sure the white didn't show. Since I cut them already, I didn't want to waste them. So, you can see the whites. Oops!) 
  5. Hang! (I took a command strip hook thing and taped it upside down behind my door. Like this!)
 
 I didn't think I would like it because of how sloppy the leaves look but I ended up really loving it! I love the fall colors and that you can't see the string! It's awesome! So this is my fall challenge. Check out Charlie's A Mess To Be Made to see what she had done. I wanna see your wreaths! Comment below with a picture! (:

This post is written by Karel.
Adapted from: 

A Mess To Be Made
Silhouette America
Senn and Sons

Saturday, September 29, 2012

Motivation Wall


Last year, I created a wall that helped me stay motivated in my health journey. My wall has grown so much in the past year! (Click above picture to view larger.) I highly encourage people to create a space where you can look to to become motivated. It is my sacred space to ponder and reflect, as well as, track my progress.

Left: Healthy motivation. Yoga, positive words, yummy food. Right: I love elephants!!!

How To Create Your Own Motivation Wall
  1. Find an area where you are always around. (Last year it was in my kitchen, this year it is in my room.) This is important because it is a place where you can always look to. 
  2. Make it cozy. I have candles and colored Christmas lights for some nice ambiance. You could even make it a little nook. Have some comfy blankets and pillows!
  3. Add pictures to your wall. Healthy food (like fruit and vegetables). Motivating words. Hobbies that you enjoy. 
  4. Add goals. Where do you want to travel? What are you currently working towards? Put it up! Visualize it. 
  5. Add a personal touch. I have all my little love notes and pictures up on this wall. Michael motivates me and when I read his letters, it definitely helps me in my journey. I am also obsessed with elephants, so that is where I have put up my elephant pictures and fun.
  6. This can also be your spiritual space (if that applies to you). I like to do yoga, so I keep my mat close by and have enough space to practice. I also keep my crystals and candles here too.
 Just remember that this is a place that you look at everyday. Make it personalized and fun. If you like to look at it, you are more likely to be more motivated. What have you put on your motivation wall? We would love to see what you have all come up with! (:

This post is written by Karel.
Adapted from: My room (: 

Saturday, September 1, 2012

DIY Sweaty Bands

I did a Sweaty Bands tutorial on my health tumblr so I decided to share with you guys! I don’t know about you but I really hate when I have to readjust my headband when I work out, run or just wearing one for the day. Then, I found out about Sweatybands! However, I am a broke college student and don’t really think $15 for a headband is worth it. So, since I am oh-so crafty, I made one… I mean, three!

DIY Sweatybands Tutorial
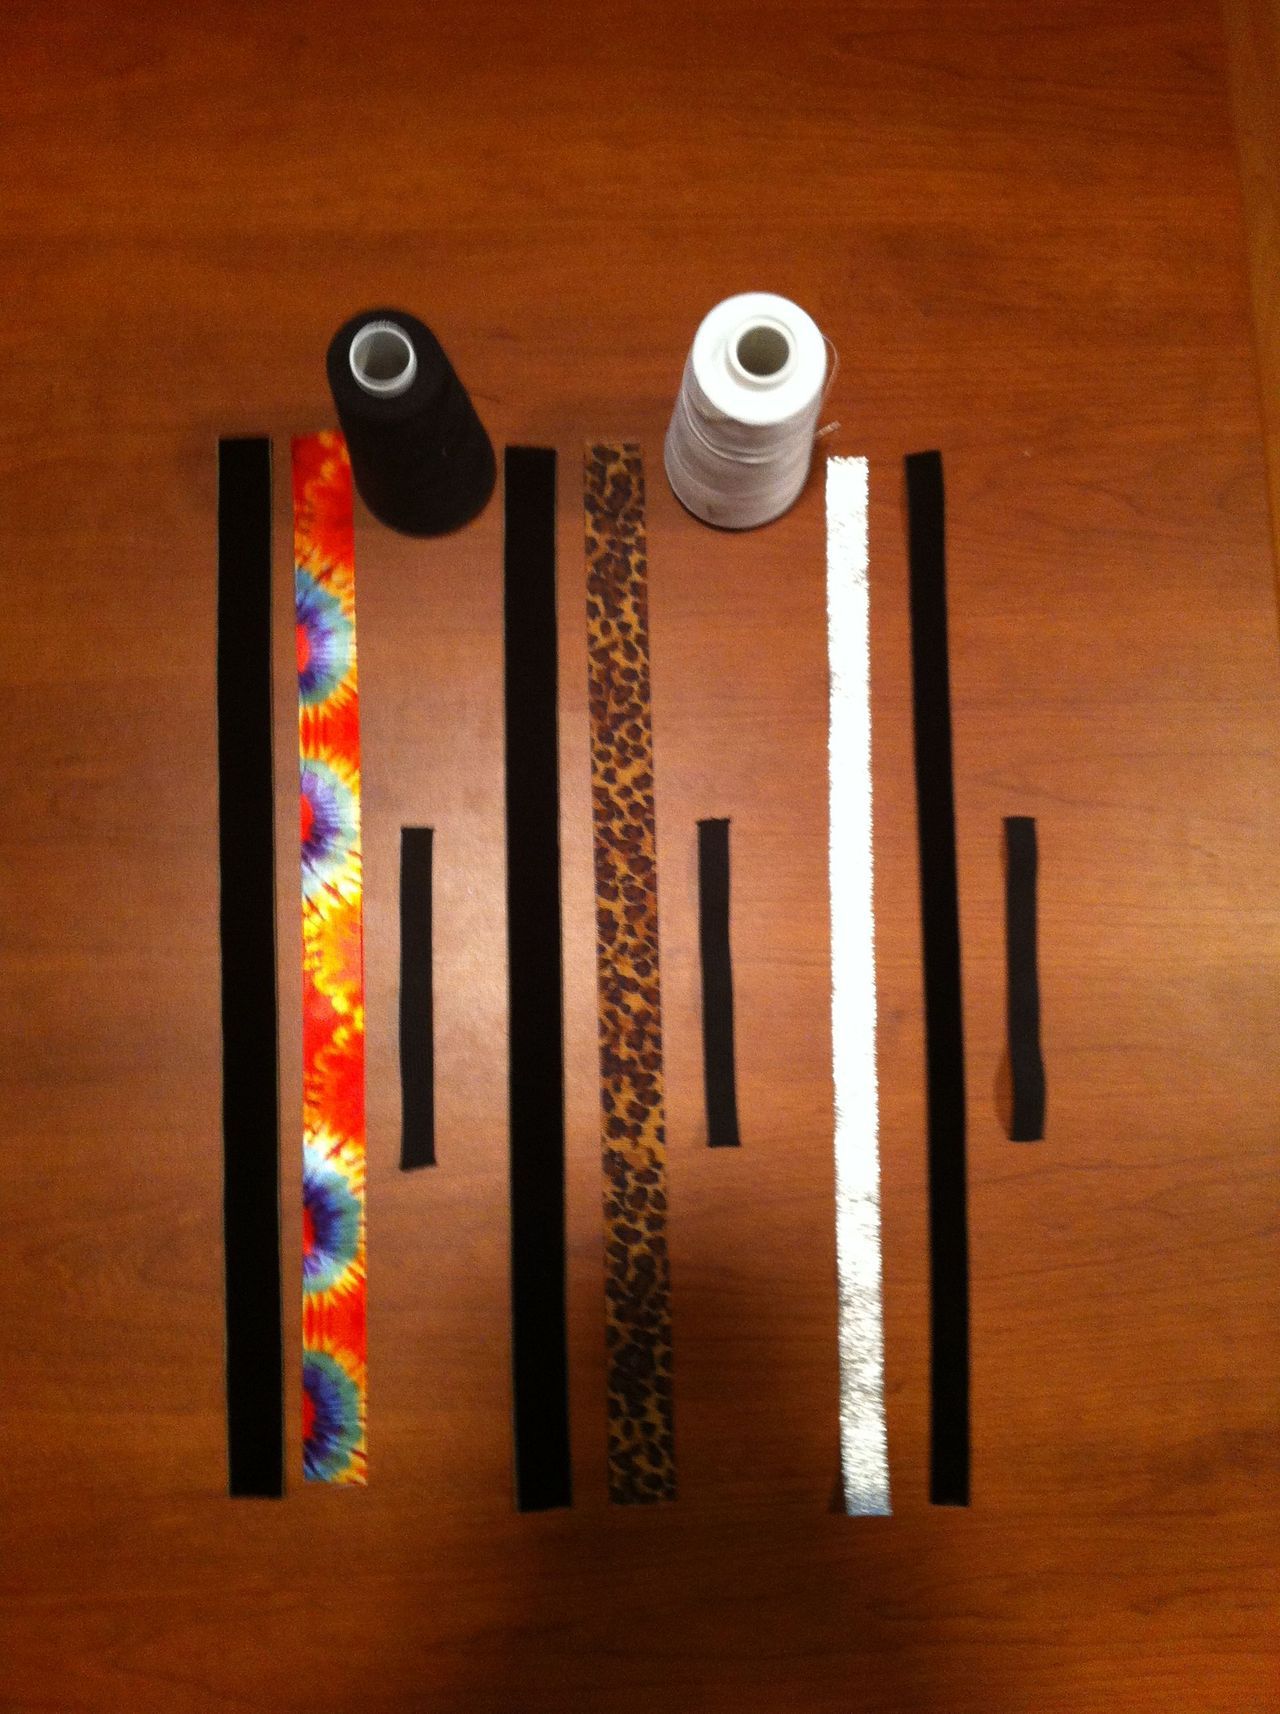
What you need: (I went to Joanns Fabrics)
  • 1/2” elastic (any size should be fine, I used 1/2” in black)
  • ribbon (I got three different sizes and patterns)
  • velvet ribbon (make sure these are the same size as your ribbon)
  • needle and thread (I used black and my machine)


Steps

  1. Measure your head and cut your ribbons smaller than that. I cut to where under my ears are (I cut at 16”). Cut the velvet ribbon exactly the same. Cut elastic. (All my headbands ended up all different sizes for some reason, but I found 6 1/2” for the elastic is good).
  2. Make sure the pattern side is up on ribbon and flip over.
  3. Put fuzzy side up of the velvet ribbon on top of your headband ribbon. (So it looks like you’re going to wear it.
  4. Sew one side (the long side!) close to the edge. Flip to the other long side and sew that.
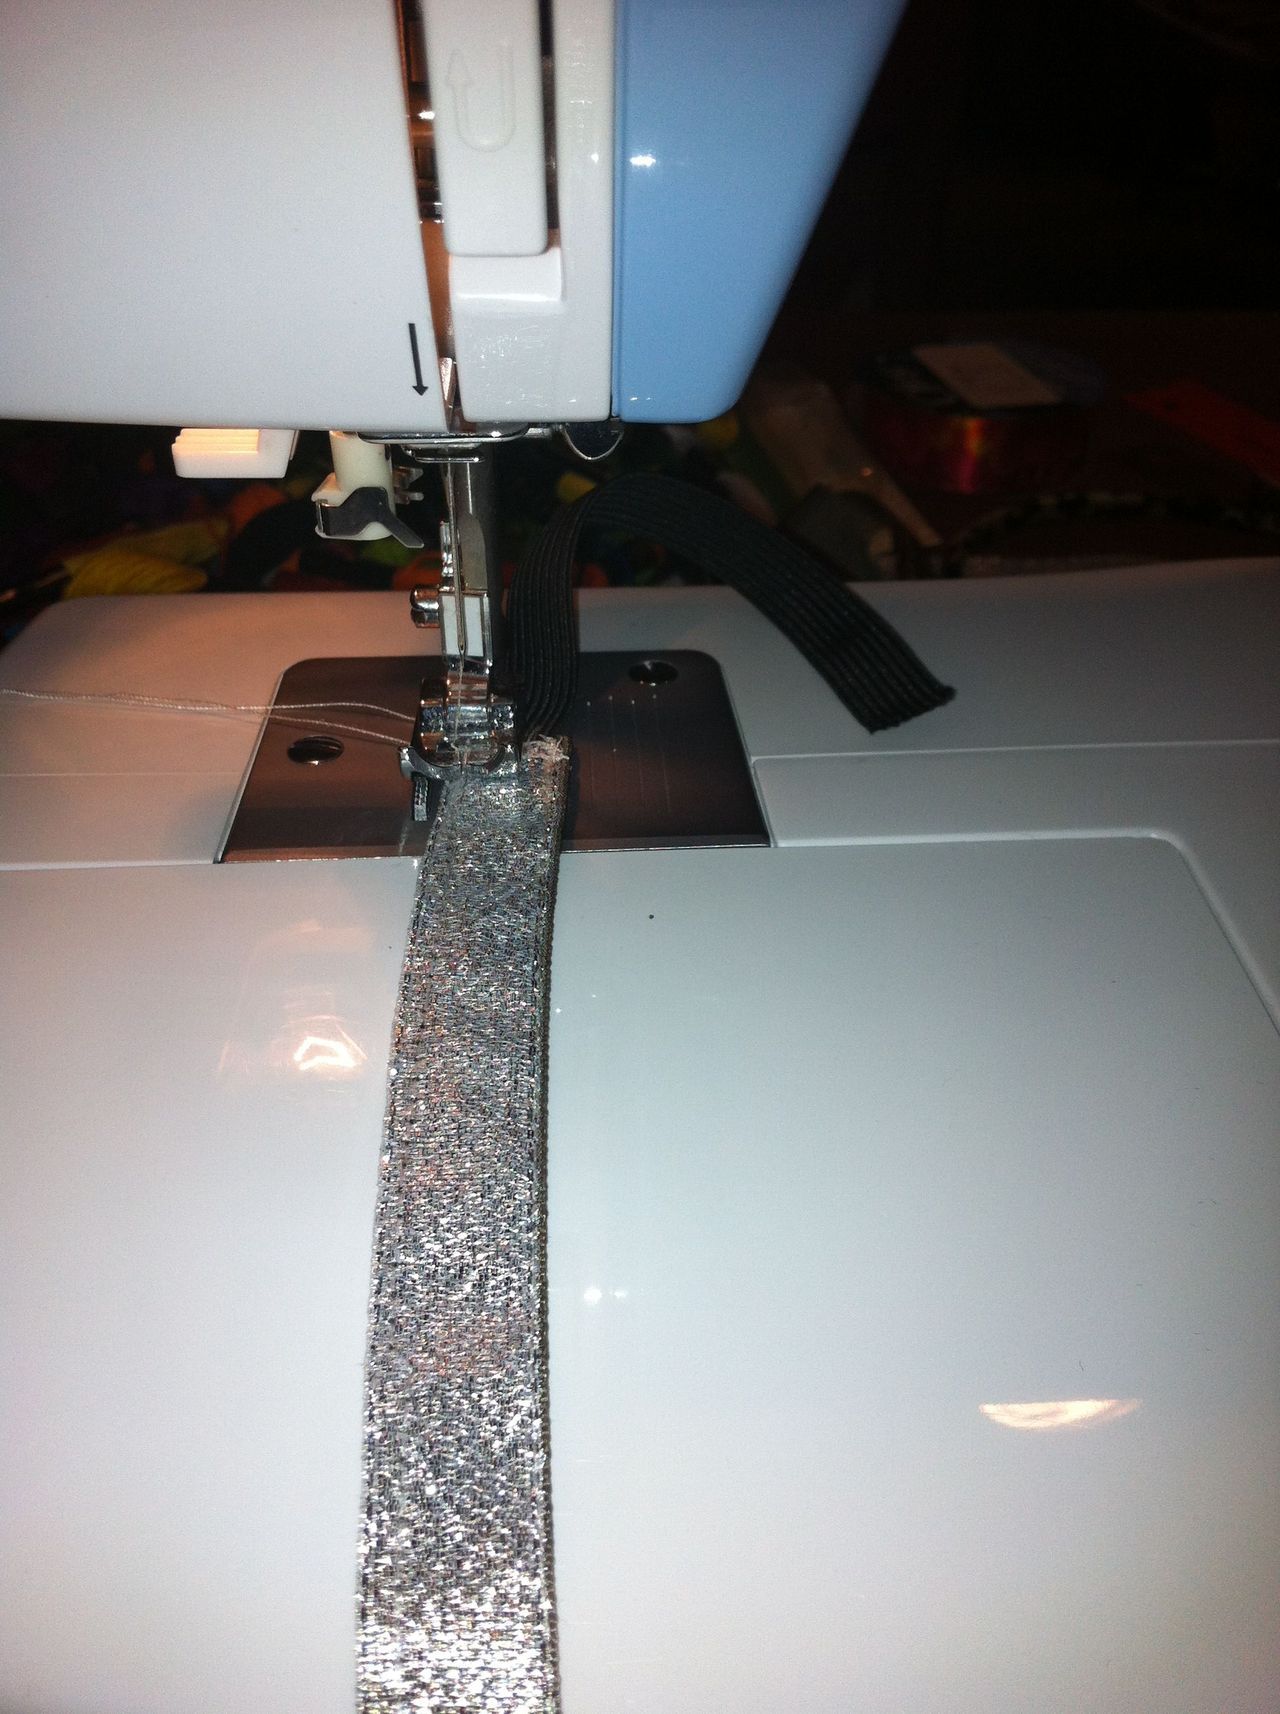
  5. Slip in elastic between the two ribbons and stitch like crazy! That way it’s secure.
  6. Slip in other side. BAM you’re done!


I made 3 DIY sweatybands for $10.75 which comes down to about $3.58 for one. Better than $15 right?!
I hope the pictures helped in some way. The banner is the finished product. #1 is the measurements. #2 is to show how I stictched it. #3 is me wearing the final product. I had worn this all day and it didn’t move! The velvet ribbon keeps the headband stay in place.
If you have any questions, feel free to leave a comment or email us! (: Happy DIY-ing!

This post is written by Karel.
Adapted from: 
Sweatybands

  Pin it

LinkWithin