Wednesday, October 31, 2012

Marinated Portobello Mushrooms


Ingredients:
  • 1 Tablespoon olive oil
  • 2 Tablespoons soy sauce
  • 2 Tablespoons balsamic vinegar
  • 2 garlic cloves, minced
  • sprinkle seasoning (I used garlic powder, onion powder, basil, oregano)
  • 2 large portobello mushrooms, remove caps


 1. In a ziploc bag, mix everything EXCEPT the mushrooms together. See first image.
2. Wash mushrooms thoroughly. See second image on right.
3. Place the mushrooms in bag, CLOSE tightly and shake!
4. Place in refrigerator overnight. Flip when you think it is necessary. (I did this at 9pm and flipped it over in the morning so I can cook it later that night.
5. Once you have let it marinade overnight (or for a couple hours), preheat oven to 400 degrees. Take mushrooms out and place on glass oven safe pan. (DO NOT throw away sauce!)
6. Sprinkle  some sauce over mushrooms.
7. Cover with foil.
8. Place in preheated oven for 25 minutes. Flip mushrooms to other side and let sit in oven for 7 minutes.
9. Take out and enjoy!

Here is the finished product! It's delicious. We had it with pasta. 

Happy Halloween
We hope everyone stays safe and enjoy having a sugar coma! (:

This post is written by Karel.
Adapted from: myself and Michael! 

Saturday, October 27, 2012

What to Recycle

Recycling is an important way to help our environment. Many people think that they can recycle everything, but most of the things we think we can recycle end up going in the land fill anyways. I like to recycle, but to be honest, I still am a bit unsure about exactly what I can put in the bin. It seems pretty simple, but it's important to follow some general guidelines, otherwise all the hard work of sorting may be going to waste.


Items you should recycle:

Mixed Paper & Cardboard:

  • Writing Paper
  • Computer Paper
  • Newspaper
  • Flattened Cardboard
  • Flattened Boxes
  • File Folders
  • Junk Mail
  • Phone Books
  • Magazines
  • Shredded Paper
  • Paper Packaging
  • Paper Bags
  • Styrofoam Packaging (NO Packing Peanuts) Currently San Diego County only.


Recyclable Containers:

  • Aluminum Cans
  • Glass Bottles & Jars (all colors)
  • Steel (tin) Cans
  • All Plastic Bottles, Jugs & Containers marked
    Recycling Code 1throughRecycling Code 7 or labeled "CA Redemption Value


Not for the recycling bin:

  • Disposable plates or cups
  • Paper towels
  • Tissues
  • Carbon Paper
  • Plastic grocery bags
  • Chip/snack bags
  • Ceramics
  • Drinking glasses
  • Styrofoam packing peanuts
  • Mirrors
  • Wax Paper
  • Milk/juice cartons with wax paper
  • Batteries
  • Light bulbs
  • Clothing

General guidelines:
-Clean out all plastic containers and leave off the lid. A lot of containers end up in the landfill because they aren't rinsed before going into the bin
-Bottles/containers do not need lids or caps
-Keep in mind that each city has different rules and regulations, look up your cities guidelines to make sure you are doing everything that you can

This post is written by Michael
Adapted from: 

EDCO
Image

Wednesday, October 24, 2012

Life Lessons: The Stranger Part 1

Before I go into the life lessons, I need to give you all some background.
This past summer, Michael and I went to Sebastopol to explore and just walk around. In a bookstore, we met this man who decided to talk to us for a long time about life lessons. This was a complete stranger telling us about his world. This is some of what we learned.


Look at things carefully. The Stranger showed us this peculiar metal round thing which we later found out was a 1950s spy camera. He had us play with it to figure out what it was. We learned that even though some things we acquire don't mean anything to us personally, to others it can mean everything. We always get caught up in this fast paced world and we never stop and look at things more carefully. We judge people, judge books by their covers, judge the way a food tastes by the way it looks. I am still learning to slow down, and when I do, I notice things more than I did before.


Tell things from the heart. The Stranger asked what Michael and I's major. I mentioned that I wanted to teach. The Stranger was a professor. He taught psychology and physics. He felt restricted by the lesson plan and would rather teach from the heart because then it would inspire people to learn. He told me that if I want to become a successful teacher, I should teach from the heart. If I am not passionate, the students can tell and will not be passionate as well.

Adapt to the environment to live to your advantage. The Stranger has a son who wears a ponytail and have many piercings. By having those physical qualities, his son restricts himself. When traveling, you need to adapt to the environment and wear socially acceptable things. This can help ease communication with other cultures, etc. Although people say, it is the inside that counts, there are a good amount of people that judge you by the way you look. If you try to fit in to your surroundings, you don't bring attention to yourself and communication would be easier.

How have you lived these life lessons that The Stranger taught us? Tell us your stories!
Check out Part 2 here.

This post is written by Karel.
Adapted from: a peculiar encounter in our life together

I heart eleanor Heart Picture 
Discovery Education Magnifying Glass

Saturday, October 20, 2012

Raw Apple Cream Mini Pie


 This is a recipe I created myself, and it is pretty simple yet delicious. Good for 1-4 people I would say :)

--> first off, it's gluten free, vegan, and raw, but not nut free

Tools you will need:
-blender
-food processor
-small pyrex or glass dish (the one I used was about 5-6'' in diameter)
*pre-prep: soak cashews in filtered water for 2 hours before blending!

Ingredients:
(for food processor)
-1 cup almonds
-1 cup walnuts
-1 tbsp coconut oil
-5 dates (to make it more sticky and for some sweetness--> don't forget to remove the pits!)

(for blender)
-2 cups cashews (*pre-soak 2 hours before blending)
-1/4 cup agave nectar
-1 tbsp cinnamon
-1/2 a lemon (juice)
-1 tbsp coconut oil
-smallest amount of water you can use to make mixture blend

(for topping)
-1 apple,sliced thinly for top garnish

Directions:
  1. mix all food processor ingredients in the processor until fine
  2. scoop it out into the pyrex dish and flatten (this will be the crust) *you can add more sliced apples on top of the crust before pouring the cream on if you prefer*
  3. blend all blender ingredients until mixture is creamy and smooth 
  4. pour into pyrex dish on top of the bottom crust
  5. garnish top with thinly sliced apples and some cinnamon
  6. refrigerate for a few hours if you would like it to firm up a bit, or enjoy immediately! 
This post is written by Michael
Adapted from: 

Original pics

Wednesday, October 17, 2012

Making Natural Deodorant

Most deodorants today use Aluminum and a slew of other chemicals in order to block your glands from sweating. This isn't good because we absorb this metal directly through our skin and it can cause aluminum toxicity over time. The negatives of too much include intestinal disturbances, poor calcium metabolism, anemia, headaches, memory loss, decreased liver/kidney function, aching muscles, and softening of the bones. As an alternative, homemade deodorants are easy to make, cost effective, and do a great job of controlling the odor.

You will learn how to create your own natural deodorant that does just as good if not better at preventing body odor than the store bought commercial stuff. The main ingredient in natural deodorants is usually sodium bicarbonate (aka baking soda) and also coconut oil. These both are beneficial because the baking soda absorbs moisture and the coconut oil lubricates and softens the skin while offering anti-microbial properties. Try one of these super simple recipes based on your preference for a more dry or moist deodorant!

Enjoy your new happy under arms:)

Basic Dry Deodorant Formula
  • 1/2 cup of Baking Soda
  • 1/2 cup of Cornstarch
  • Essential oils (cinnamon, rose, birch, or lavender are best for antibacterial)
  1. Place baking soda and cornstarch in a glass jar
  2. Add the essential oils (as little or as much as you would like depending on how strong you want it)
  3. Stir the mixture and then cover
  4. Dampen a cotton ball or sponge, or sprinkle the mixture and directly pat underarms
Basic Moist Deodorant Formula
  • 6 Tbsp Coconut oil
  • 1/4 cup Baking Soda
  • 1/4 cup of Arrowroot or Cornstarch
  • Essential oils
  1. Mix baking soda and arrowroot together in a medium sized bowl.
  2. Mash in coconut oil with a fork until well mixed (may need to warm it a bit to liquify)
  3. Add Essential oils to preference
  4. Store in small glass jar or re-use an old container
  5. Apply to underarms how you would like (hands, cloth, sponge, cotton ball, etc)
This post is written by Michael.
Adapted from: 

Deodorant 
Skin Recipes 
Image

Saturday, October 13, 2012

A Simple Guide for Types of Yoga

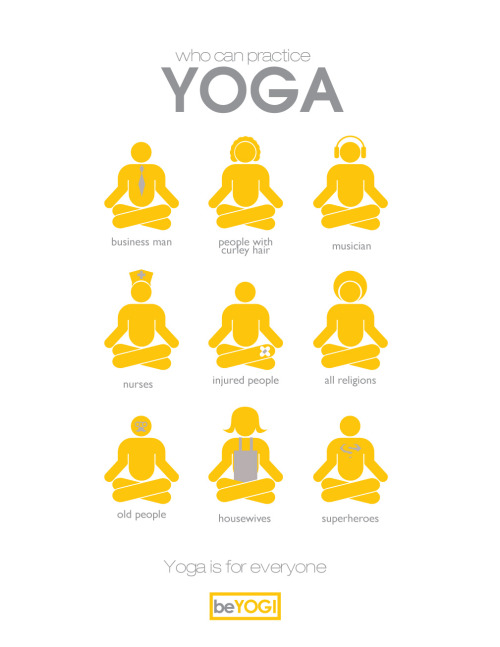
For many of you know now, yoga is a part of both our lives. There are many types of yoga and it's hard to figure out which is what and what it is good for. Here is a simple guide of the different types of yoga out there.


Ashtanga
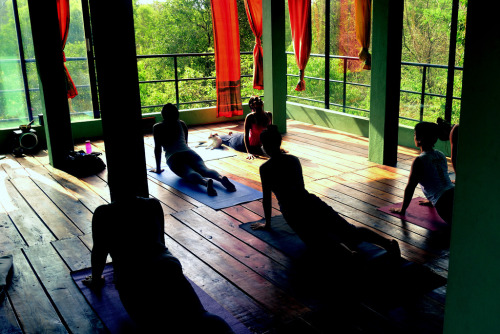
Many people know it as "power yoga". It is fast paced and intense using forms of lunges and pushups. It is typically a particular set of poses that are in the same order. It is more difficult because it goes from one pose to the next; this is called a "flow".

Good for: strength, stamina, weight-loss, stress, improves coordination
My experience: I liked going to an Ashtanga yoga class. It was definitely a work out and more difficult that what you would think yoga would be. It got my heart rate going up!

Bikram
Also known as "hot yoga". It is typically practiced in a room that is 95-105 degrees and 45% humidity. This is too loosen your muscles and become more flexible. The poses are usually the same 26 poses but it depends on the instructor.

Good for:  getting rid of toxins, getting drippy sweat all over yourself,
Note: Before going to Bikram, be prepared. Bring TONS of water and probably two towels: one to lay over your mat and one to clean up with afterwards. Mentally prepare yourself for what you are about to do. 
My experience: I barely survived Bikram yoga. I did it with Michael this past year; he survived. I would say that I am glad I tried it but I don't think I would do it again. The amount of sweat I was in by the end of class was just ridiculous. I sweat through my clothes AND my towel. It was also over an hour, I had to step outside because I was getting light-headed and I seriously could not breath. My advice to you is to definitely try it, but not as a first time into yoga. It's intense.
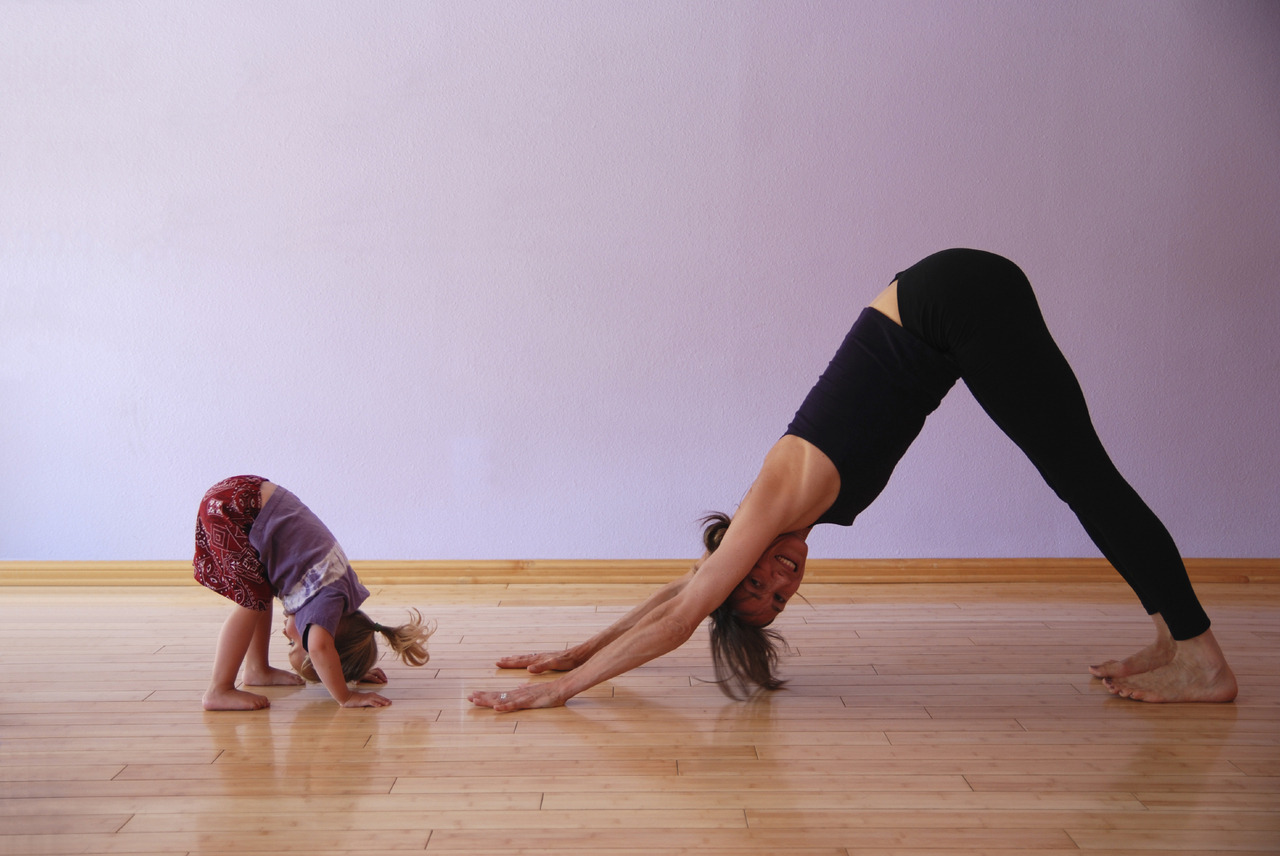


Hatha
More of a relaxing flow intended to go into meditation after. This yoga focuses more on slowing down, deep breathing, and meditation. It encompasses almost all types of yoga. It is a great way to learn all the basic poses.

Good for: stress, improves breathing, great for beginners, advanced yogis, just good for everyone
My experience: This is my style of yoga. I typically like to meditated after my practice and this helps me slow down. I have a difficult time just jumping into meditation because I get to excited and a good Hatha flow helps me calm down. It's also great if you want to get introduced to yoga. It's very simple and teaches you how to breath during the poses. Hatha yoga is definitely one of my favorites!

Kundalini
This yoga is intended to release the Kundalini (serpent) energy throughout your body. [This is linked to the chakras, refer to picture above. Learn more from Michael's blog about Chakras.] The purpose is to free your body to move the energy from the root to upwards. This yoga also focuses on breathing with the poses.

Good for:  getting the yoga "high", those who want to go on a spiritual journey, mind and body awareness
My experience: I do not have experience with this type of yoga but I am super interested. I'll keep you all updated when I do finally try it! Michael has been reading a lot about this which made me get excited about trying it!


Vinyasa
Similar to Hatha with linking breathing and movement, as well as, simple yoga poses. Usually starts with the Sun Salutation and goes into deeper poses and stretches.

Good for:  strength, beginners and advanced yogis, waking up, deep breathing
My experience: Vinyasa is my other favorite yoga style. I typically practice a version of the sun salutation in the mornings followed by 15-30 min meditation. I like this style because of the movement and breathing into each pose and the way it flows.


There are many types of yoga. These five are the most popular and what I have had experience with (excluding Kundalini, I am just really interested in that one). Remember that you are not limited to these types of yoga. There are far more different styles and types that you can try. What is your favorite type of yoga to do? 

This post is written by Karel.
Adapted from: 

Women's Health Types of Yoga
Daily Cup of Yoga
About.com: Yoga Style Guide
The Yoga Lotus: Sun Salutation
Dr.Yogi: About Kundalini Yoga
living-healthy-for-life Tumblr
thehealthyveggie Tumblr

Also, Happy 19th Birthday to Kyra, my not-so-little-anymore sister.  I love you & I hope you have a lovely birthday! <3

Wednesday, October 10, 2012

Benefits of Yoga

Michael and I have shared our love of yoga ever since my friend asked us to go with her (she works at a yoga studio). We went every single day of spring break and loved it. This was Michael's first time doing yoga. I did yoga for a year in high school for P.E. Ever since then I have always had a passion for it.


Background

Yoga is beneficial to your health and well-being. "Yoga is more than mastering postures and increasing your flexibility and strength." To me it is discipline. It is controlling your breathing, your thoughts, and desires. Yoga has been celebrated and practiced for more than 5,000 years. The word  "yoga" means "spiritual discipline" in Hinduism, Buddhism and Jainism.


Benefits of Yoga
I have found many benefits of yoga, hence practicing it on a regular basis.
  1. Stress reduction - yoga is slow and quiet. It takes the focus away from your busy, stressful life to you inner self.
  2. Calm my mind & body -  it helps calm my mind and my body. I have a lot of energy and sometimes I just need to slow down and calm myself. 
  3. Makes you stronger - some of the time you are in plank, and then you are at downward dog. Don't tell me that you don't feel it in your arms.  
  4. Mood - yoga totally makes you happy. According to research, this is because more oxygen is going to the brain. Talk about a natural high!
  5. Helps with health - here is a list of things it helps: depression, weight-loss, cancer, insomnia, fatigue, anxiety, pain. It also helps reduce blood pressure.
So, there you have it. The benefits of yoga. Anybody can practice yoga! I practice yoga. Michael practices yoga. School teachers practices yoga. Business men practices yoga. ANYONE CAN DO IT!


Do you practice yoga? What do you like/dislike about it?
Coming soon: Different types of yoga! Check it out.

This post is written by Karel.
Adapted from: Yoga

American Yoga Association
The Health Benefits of Yoga
MayoClinic Yoga 
Brenda Yoga 
ohtobefitandhappy Tumblr

Saturday, October 6, 2012

Smile

You know when you smile at strangers, they almost always smile back? We all smile in the same language. Spread your happiness and smile at people! I have always been a huge advocate for smiling. Smiling can instantly boost your mood and even your immune system.

 Big smiles for Disney! (Almost a year ago)

I remember learning about smiling in Psychology in high school and I loved it. There is really science in smiling. When you smile, your brain releases serotonin and endorphins which makes you happy. My teacher told us a great trick to pick yourself up when you are feeling down. Grab chopsticks or a pen. Place between teeth horizontally. Bite down. This makes a "smile". If you fake a smile when you are feeling down, you will instantly feel happy! Try it a few times and think positive while you do it too. It's all in the brain.

Facts About Smiling:
  1. It boosts your mood!
  2. It boosts your immune system. You feel happy and relaxed when you smile which contributes to your health.
  3. Smiling is a stress reducer. When you are feeling stressed, just smile. It keeps you calm.
  4. It brightens others' moods. When you smile at people, people will smile back. And smiling makes everyone happy.
  5. Smiling makes you look younger. When you smile, you use muscles that lift your cheeks. 
When you smile you want to think positively. That will help bring out your genuine smile. Everyone can see a fake smile from a mile away. My challenge to you this week is to smile at strangers, especially those who you don't want to smile at or don't usually have those smiles on their faces. See what changes. You may have just made someone's day better. Just keep smiling!

Maybe not like this. This wouldn't attract ANYONE.


This post is written by Karel.
Adapted from: 15 Fascinating Facts About Smiling 

Smiling
The Art of Smiling

Wednesday, October 3, 2012

Interval Training for Anaerobic Health

Interval training is a great way to lose fat and train the anaerobic system without losing muscle mass. Usually when we do cardio such as jogging or elliptical, we are only training our aerobic system and using mainly slow twitch muscle fibers. What high intensity interval training does is stress our bodies in a different way so that it trains our fast twitch muscle fibers. It is a lot more intense than what most people are used to, but it is a great way to stay fit and cut any lingering fat we don't desire.

The best part about interval training is that you don't have to spend an hour in the gym to get a good workout. Normally interval workouts only last 10-20 minutes!

It is recommended to not "jump" into this kind of workout program unless you can do 30-40 minutes of cardio at 70% of your max heart rate.


Here is a sample program you can try if you are up to the challenge!
[examples of exercises you can use are below]
*Warm up: 5 minutes (moderate intensity)
30 seconds (9/10 intensity)
90 seconds (5/10 intensity)
Repeat the 30 & 90 second set for 3-4 times, followed by a cool down. The most important part of HIIT is really pushing hard for the 30 seconds, and making sure to cool down afterward!
*Cool down: 5 minutes (light intensity)

here is what the first day could look like as an example:
5 minute jog warmup--> 30 seconds sprint --> 90 seconds jog--> 30 seconds sprint --> 90 seconds jog --> 30 seconds sprint --> 90 seconds jog --> 5 minute cool down light or quick walk

---> Follow this program and increase the amount of times you do each set. For example, if you start with 3 sets of the 30/90 interval the first day, increase to 4 after completing the set of 3 a few times.
-To go the extra mile with your HIIT training, once you get to 6-7 sets, decrease the second interval of 90 seconds to 60 seconds, while still increasing your sets!

General guidelines:
*Do this workout EVERY OTHER DAY if you can and do not combine it with another workout on the same day, but on the off days, you can add whatever you would like. This is because of the intensity of the workout. If it feels like the hardest thing you have ever done, then that means it's working :)
*If you are too tired on the day of your training, don't push it! The body needs time to rest and over training is no fun.
*Feel out your workouts & do what feels best for YOU

Here are some examples of exercises you can use:
-Running
-Treadmill
-Box Jumps
-Sprinting
-Elliptical
-Jump Rope
-Biking
-Pushups
-Stair master

My favorite way to do HIIT is to do knee highs in place for the intense part, and then jog for the moderate part!

This post is written by Michael
Adapted from:

Gymboss
HIIT or miss
Watch image

LinkWithin